Norwood CSA Food Co-op

Wednesday, September 29, 2021

My Vegetable Soup Recipe

By : Patrice Hall

image.png


My regular go-to website for cooking ingredients is Nuts.com, they have a wide selection of spices, nuts and organic foods.  I decided to try their organic harmony soup blend so I can use it with my CSA veggies for soups this fall.  The carrots and garlic really made this soup golden…

Ingredients

3 cups of Organic Harmony Soup blend (Nuts.com)

7 medium carrots

2 bulbs of garlic

3 Leeks

6 cups of water

2 tablespoons of dried basil

2 tablespoons of black lava salt (or Himalayan sea salt)

1 teaspoon of red pepper flakes

First, take the soup blend and boil it in the water for at least 10 minutes then let it sit for 1 hour.  Meanwhile peel the carrots and slice into 2 inch pieces.  Clean and cut the leeks into 2 inch pieces.  Peel and dice the garlic.  Add the carrots, leeks and garlic into the pot with the soup blend, along with the salt, basil and red pepper flakes.  Add enough water to the pot to cover the ingredients by 2 inches, then bring to a boil, then bring the pot down to a very low simmer to slow cook the soup for an hour.  After it is done, remove from the heat and serve. 

Picture from Nuts.com

Monday, September 20, 2021

A Tasty Way To Use Eggplant

By :Vaughan Myers-Jennings

In one of our most recent CSA vegetable hauls, we received eggplant, tomatoes, and garlic (amongst a host of other tasty veggies). While researching potential eggplant dishes, my wife and I came across an amazing Indian dish called Baingan Bhartha. Using all of the aforementioned 3 vegetables, it’s a dish that’s both healthy and delicious.

First, take 3 or 4 eggplants, place on a baking sheet, cover them in oil, poke holes in them using a fork, and broil them until blistered.

image.png

While that’s happening, cook down a combination of tomatoes, garlic, ginger, onion, and spices.

image.png

When the eggplants are done; peel them, mash them, and mix into your sauce. Yum!

image.png

For a more in-depth recipe, use this link:

http://chefinyou.com/recipe/baingan-bhartha


Tuesday, September 14, 2021

My First Canning Experience

By : Patrice Hall 

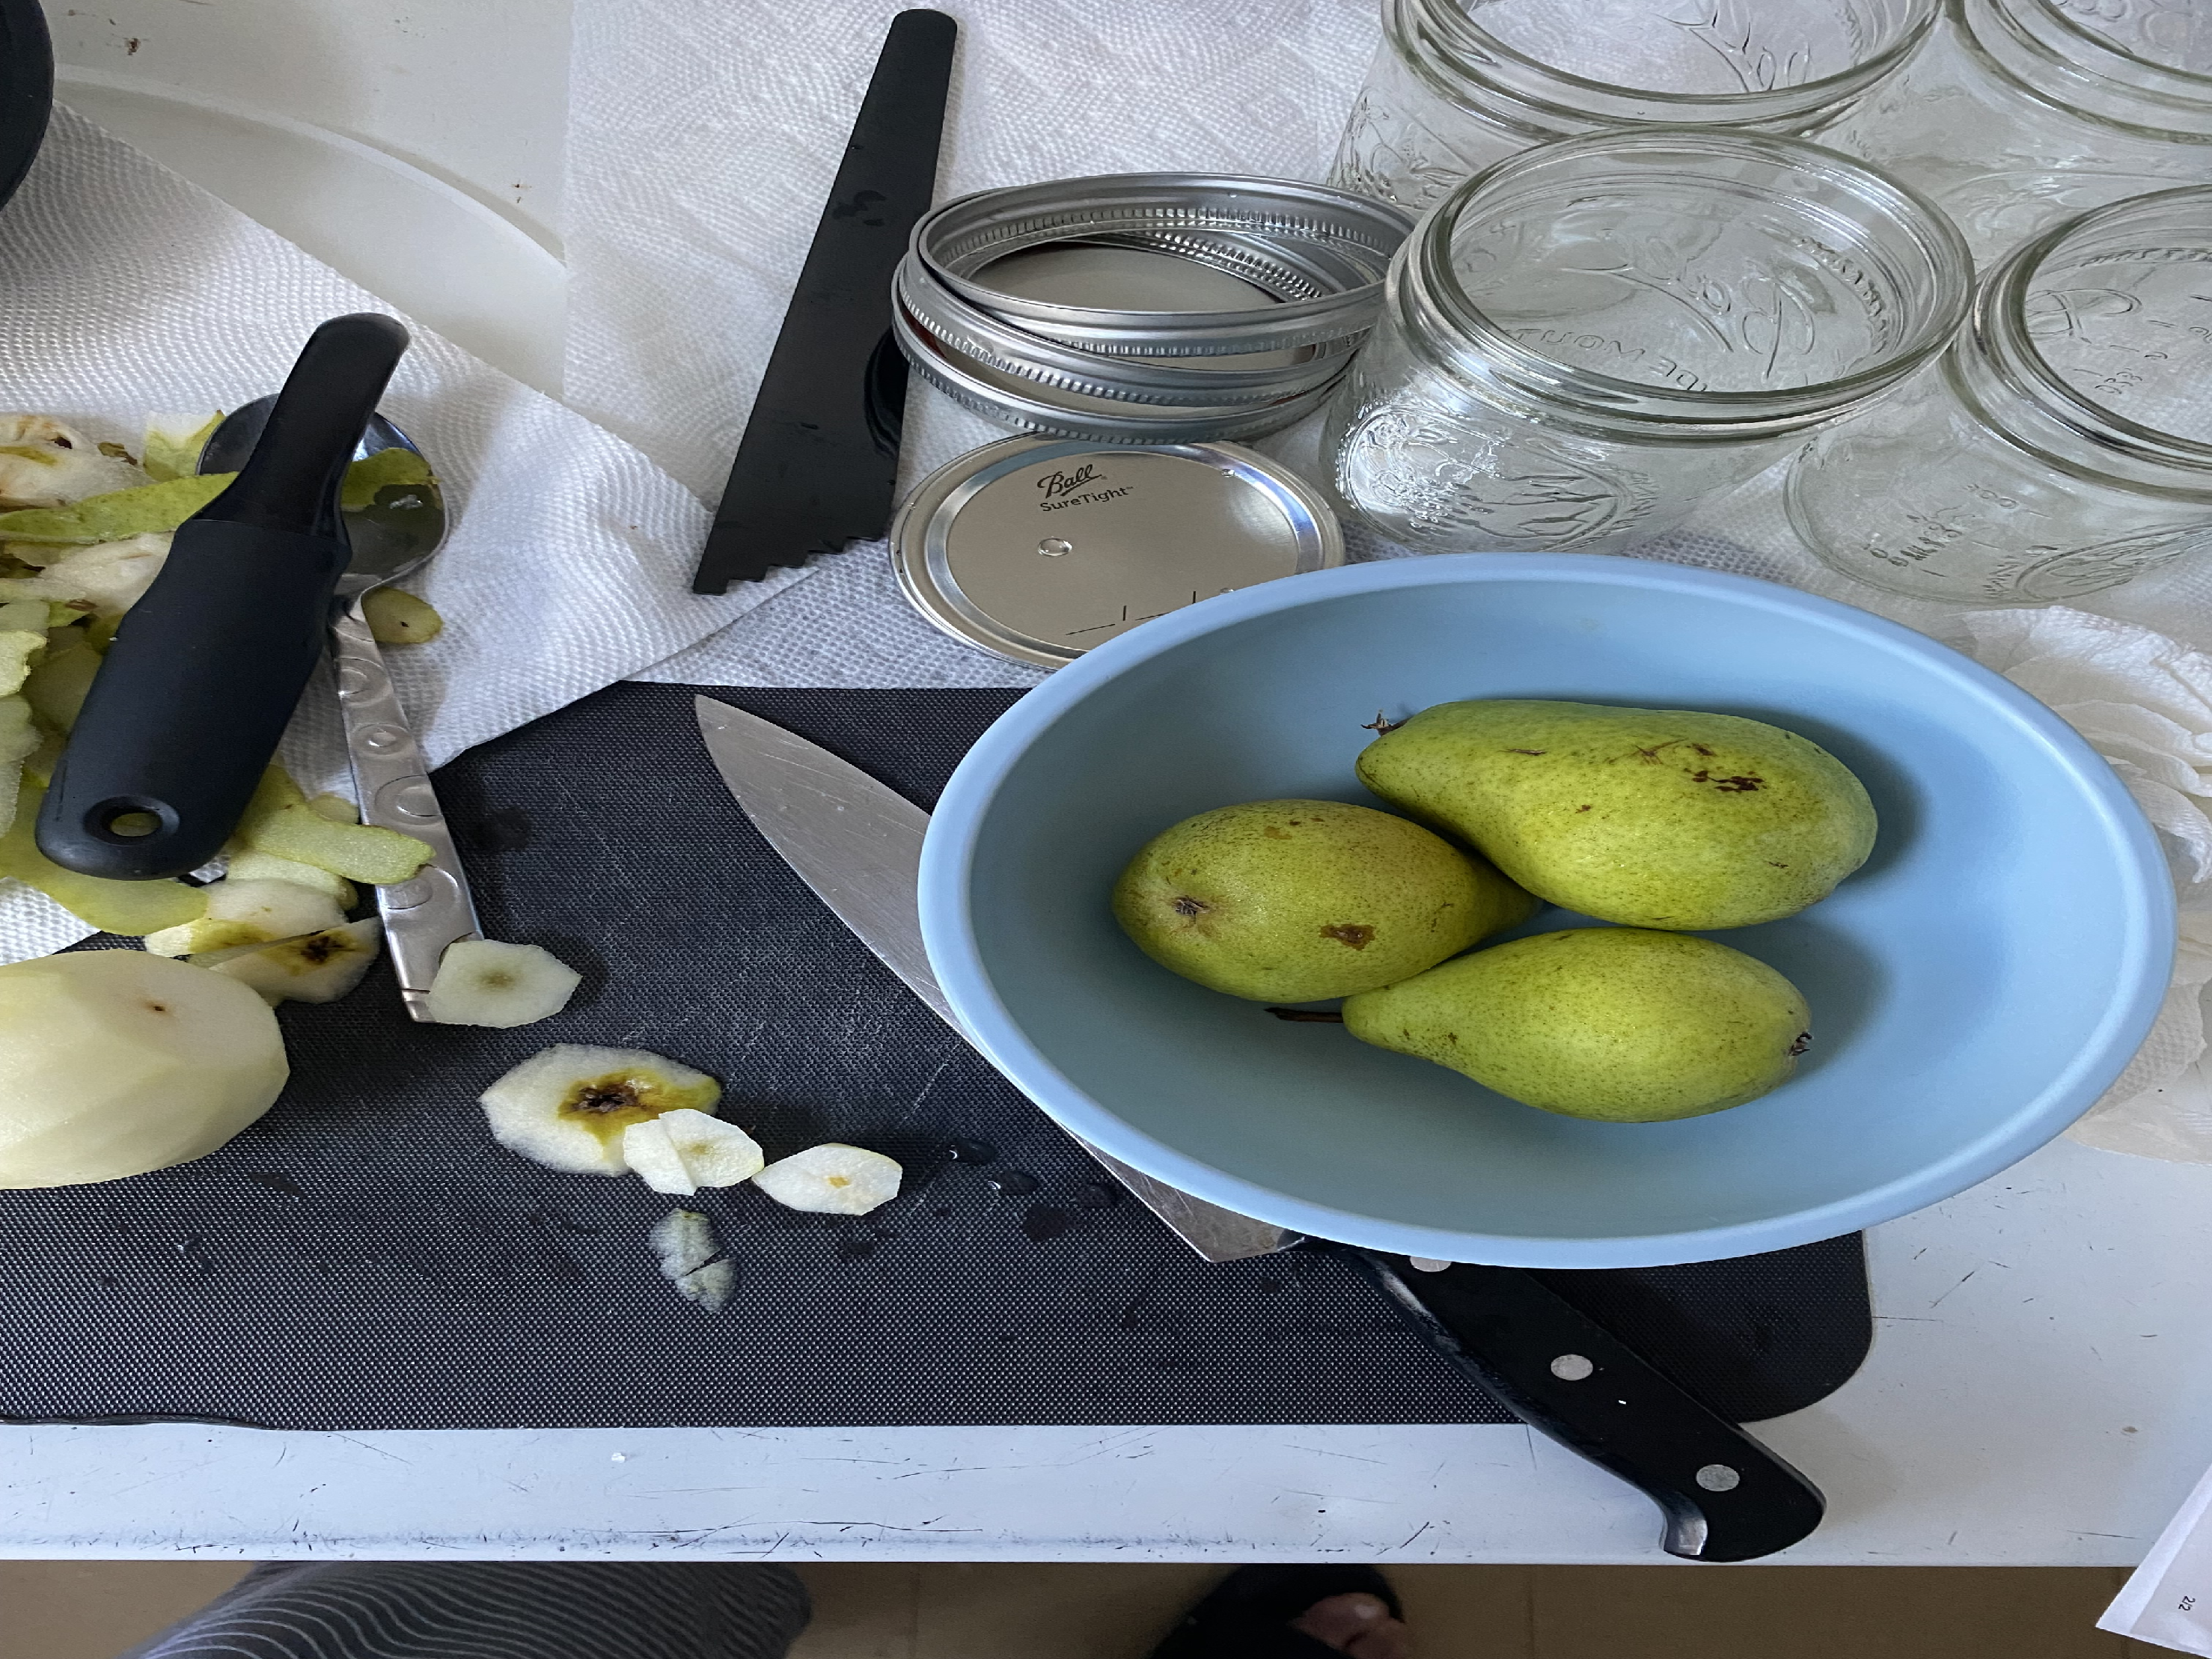
Hello all, this week I began my canning for the fall season, and I started with pears.  My family does not eat pears much, so they used to spoil in the refrigerator season after season.  I had 2 lbs and 10 ounces of pears from the delivery this week, a substantial amount to fill 4 each of the Ball pint size jars:

A picture containing table, food, plate, dish

Description automatically generated

I peeled and cored the pears, then cut them into halves, in the meantime I made a simple light syrup with 5 ¾ cups of water with 1 ½ cup of organic sugar.  Then I took the pears and placed them in the syrup and brought the pot to a boil then simmered for 5 minutes.  The aroma of the pears in the syrup was heavenly, I wondered why I didn’t do this before!

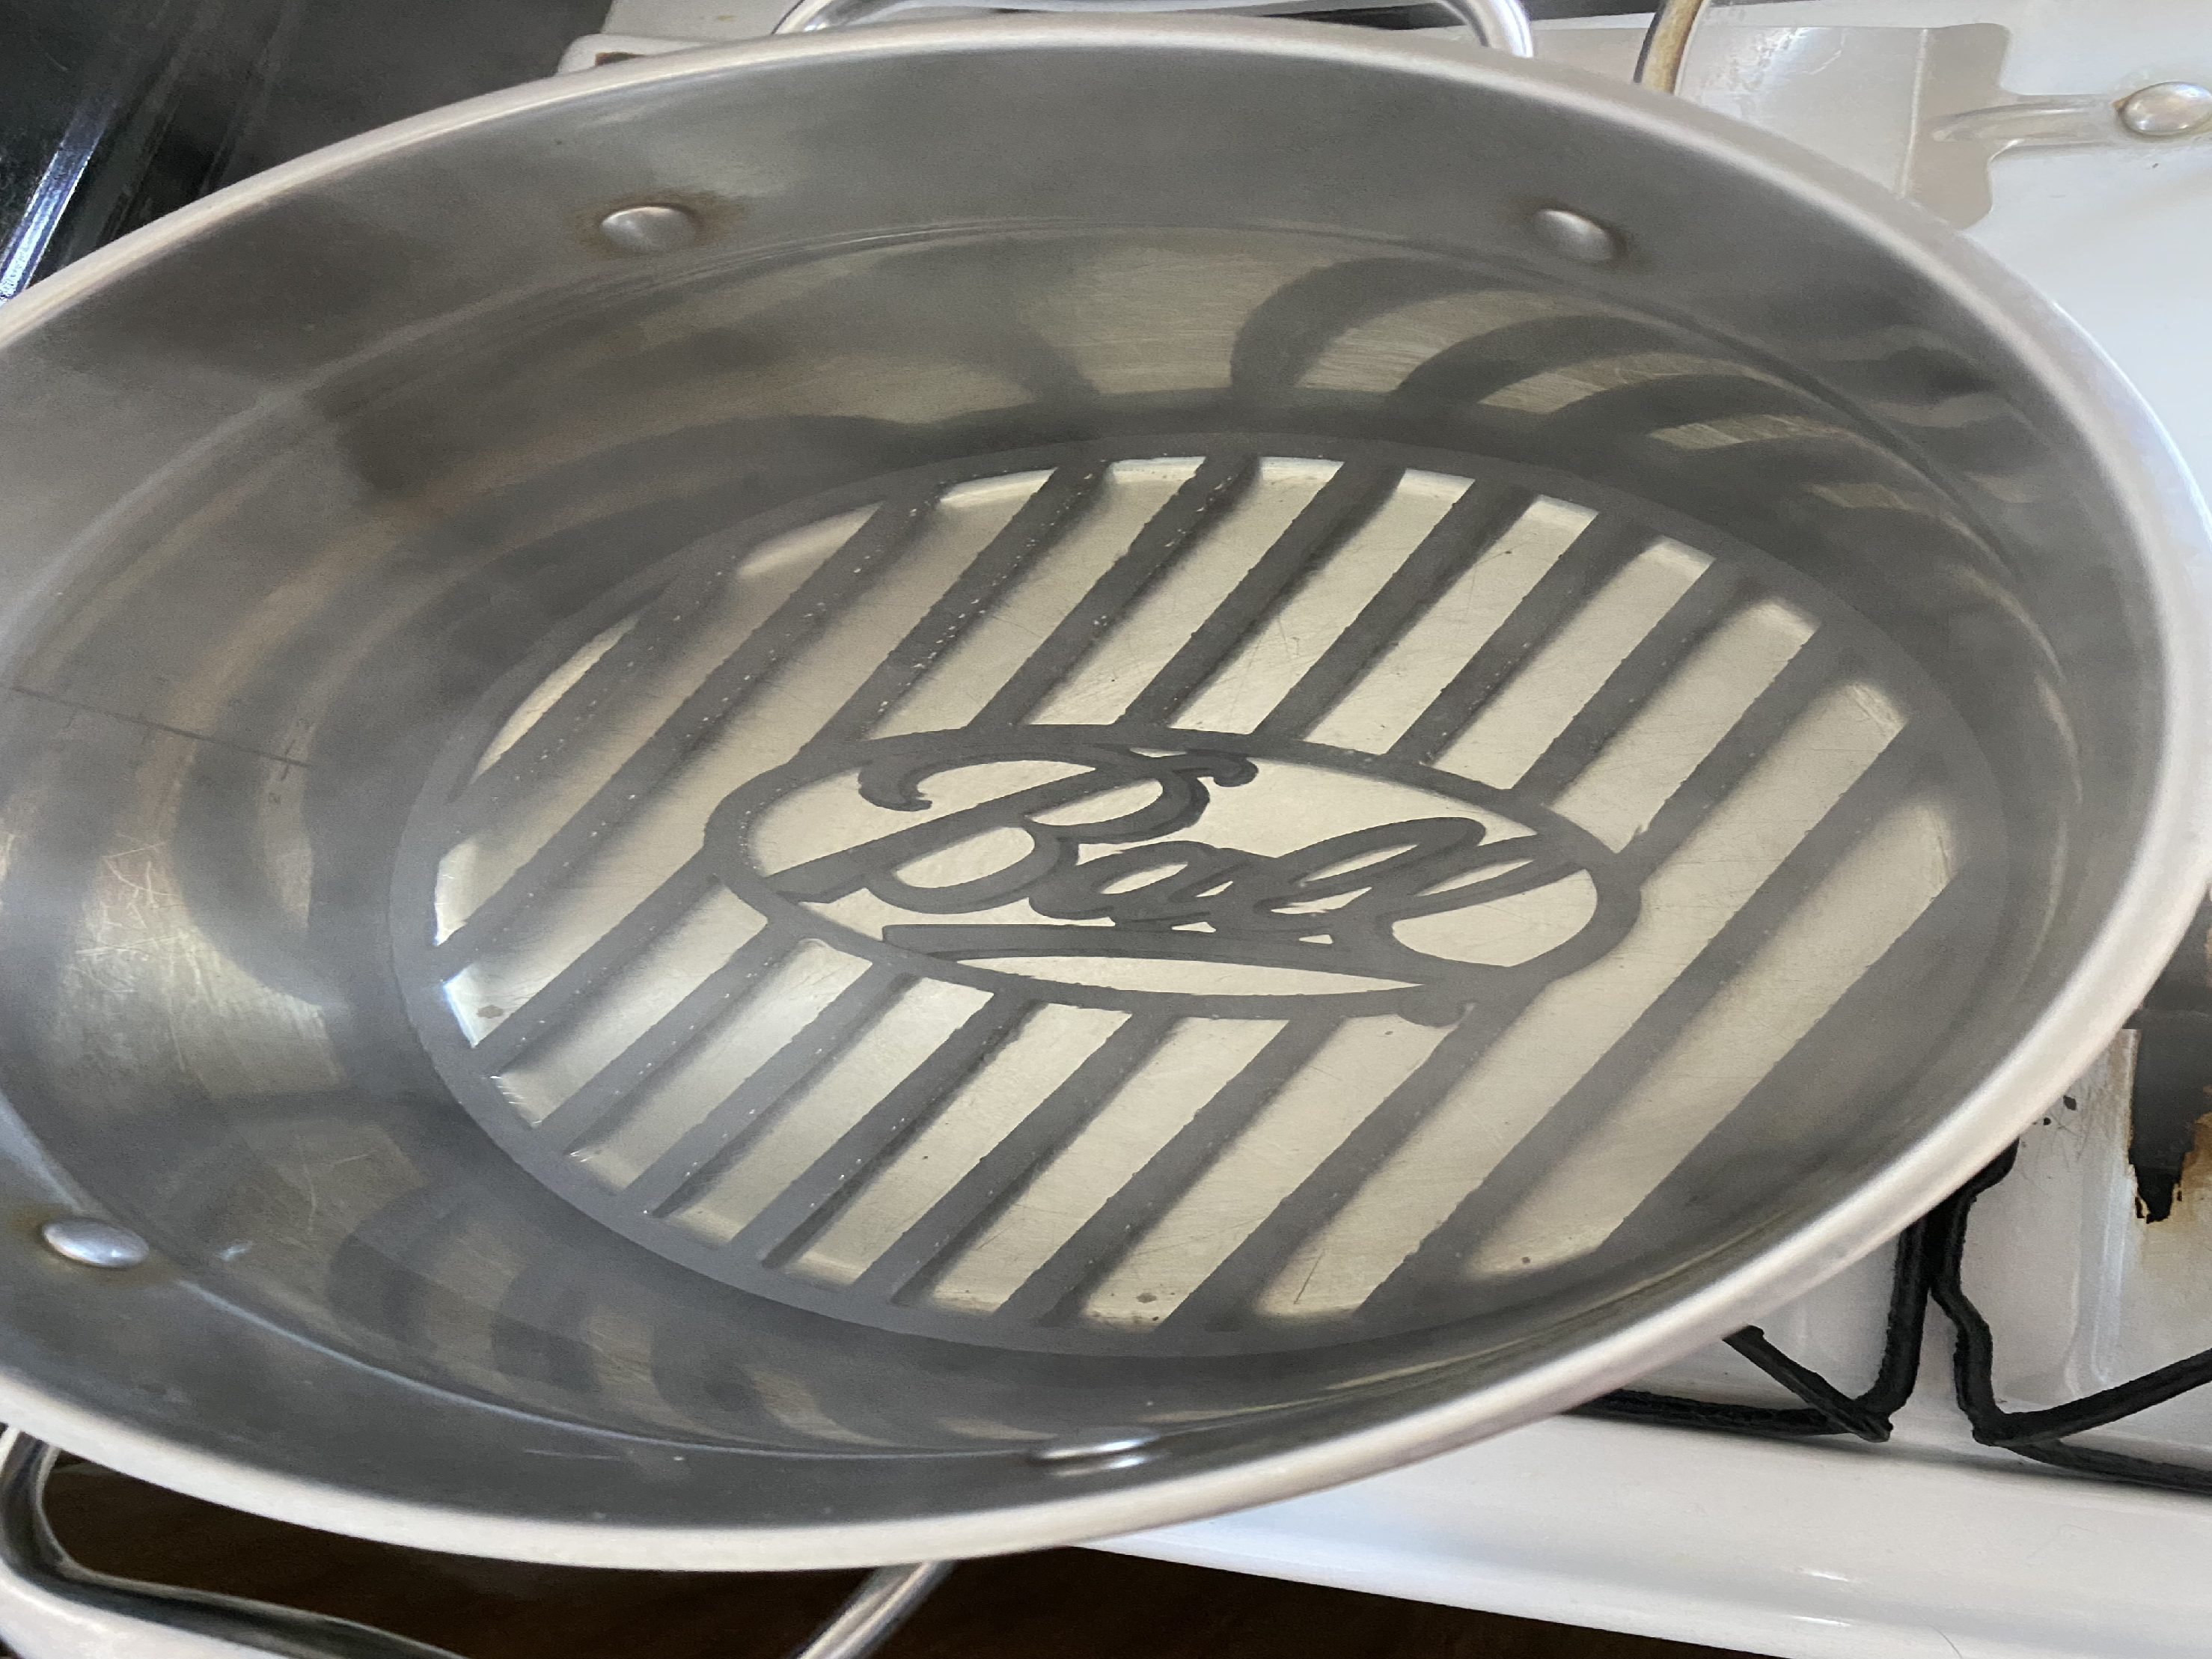
Next, it was time to fill the jars, which I sterilized by boiling the jars, lids and rings.  I used the Ball canning kit (which was helpful😊) to fill the jars, wipe the rims and measure to make sure I left ½ inch space at the top before I placed the lids and rings on.  I placed the rubber Ball cushion in the pot and placed the jars inside.

A close up of a tire

Description automatically generated with low confidence


Next, I made sure to fill the pot with water to ensure that the jars were covered with at least one inch of water, and I covered the pot with the lid and brought it to a boil and continued to boil for 25 minutes.

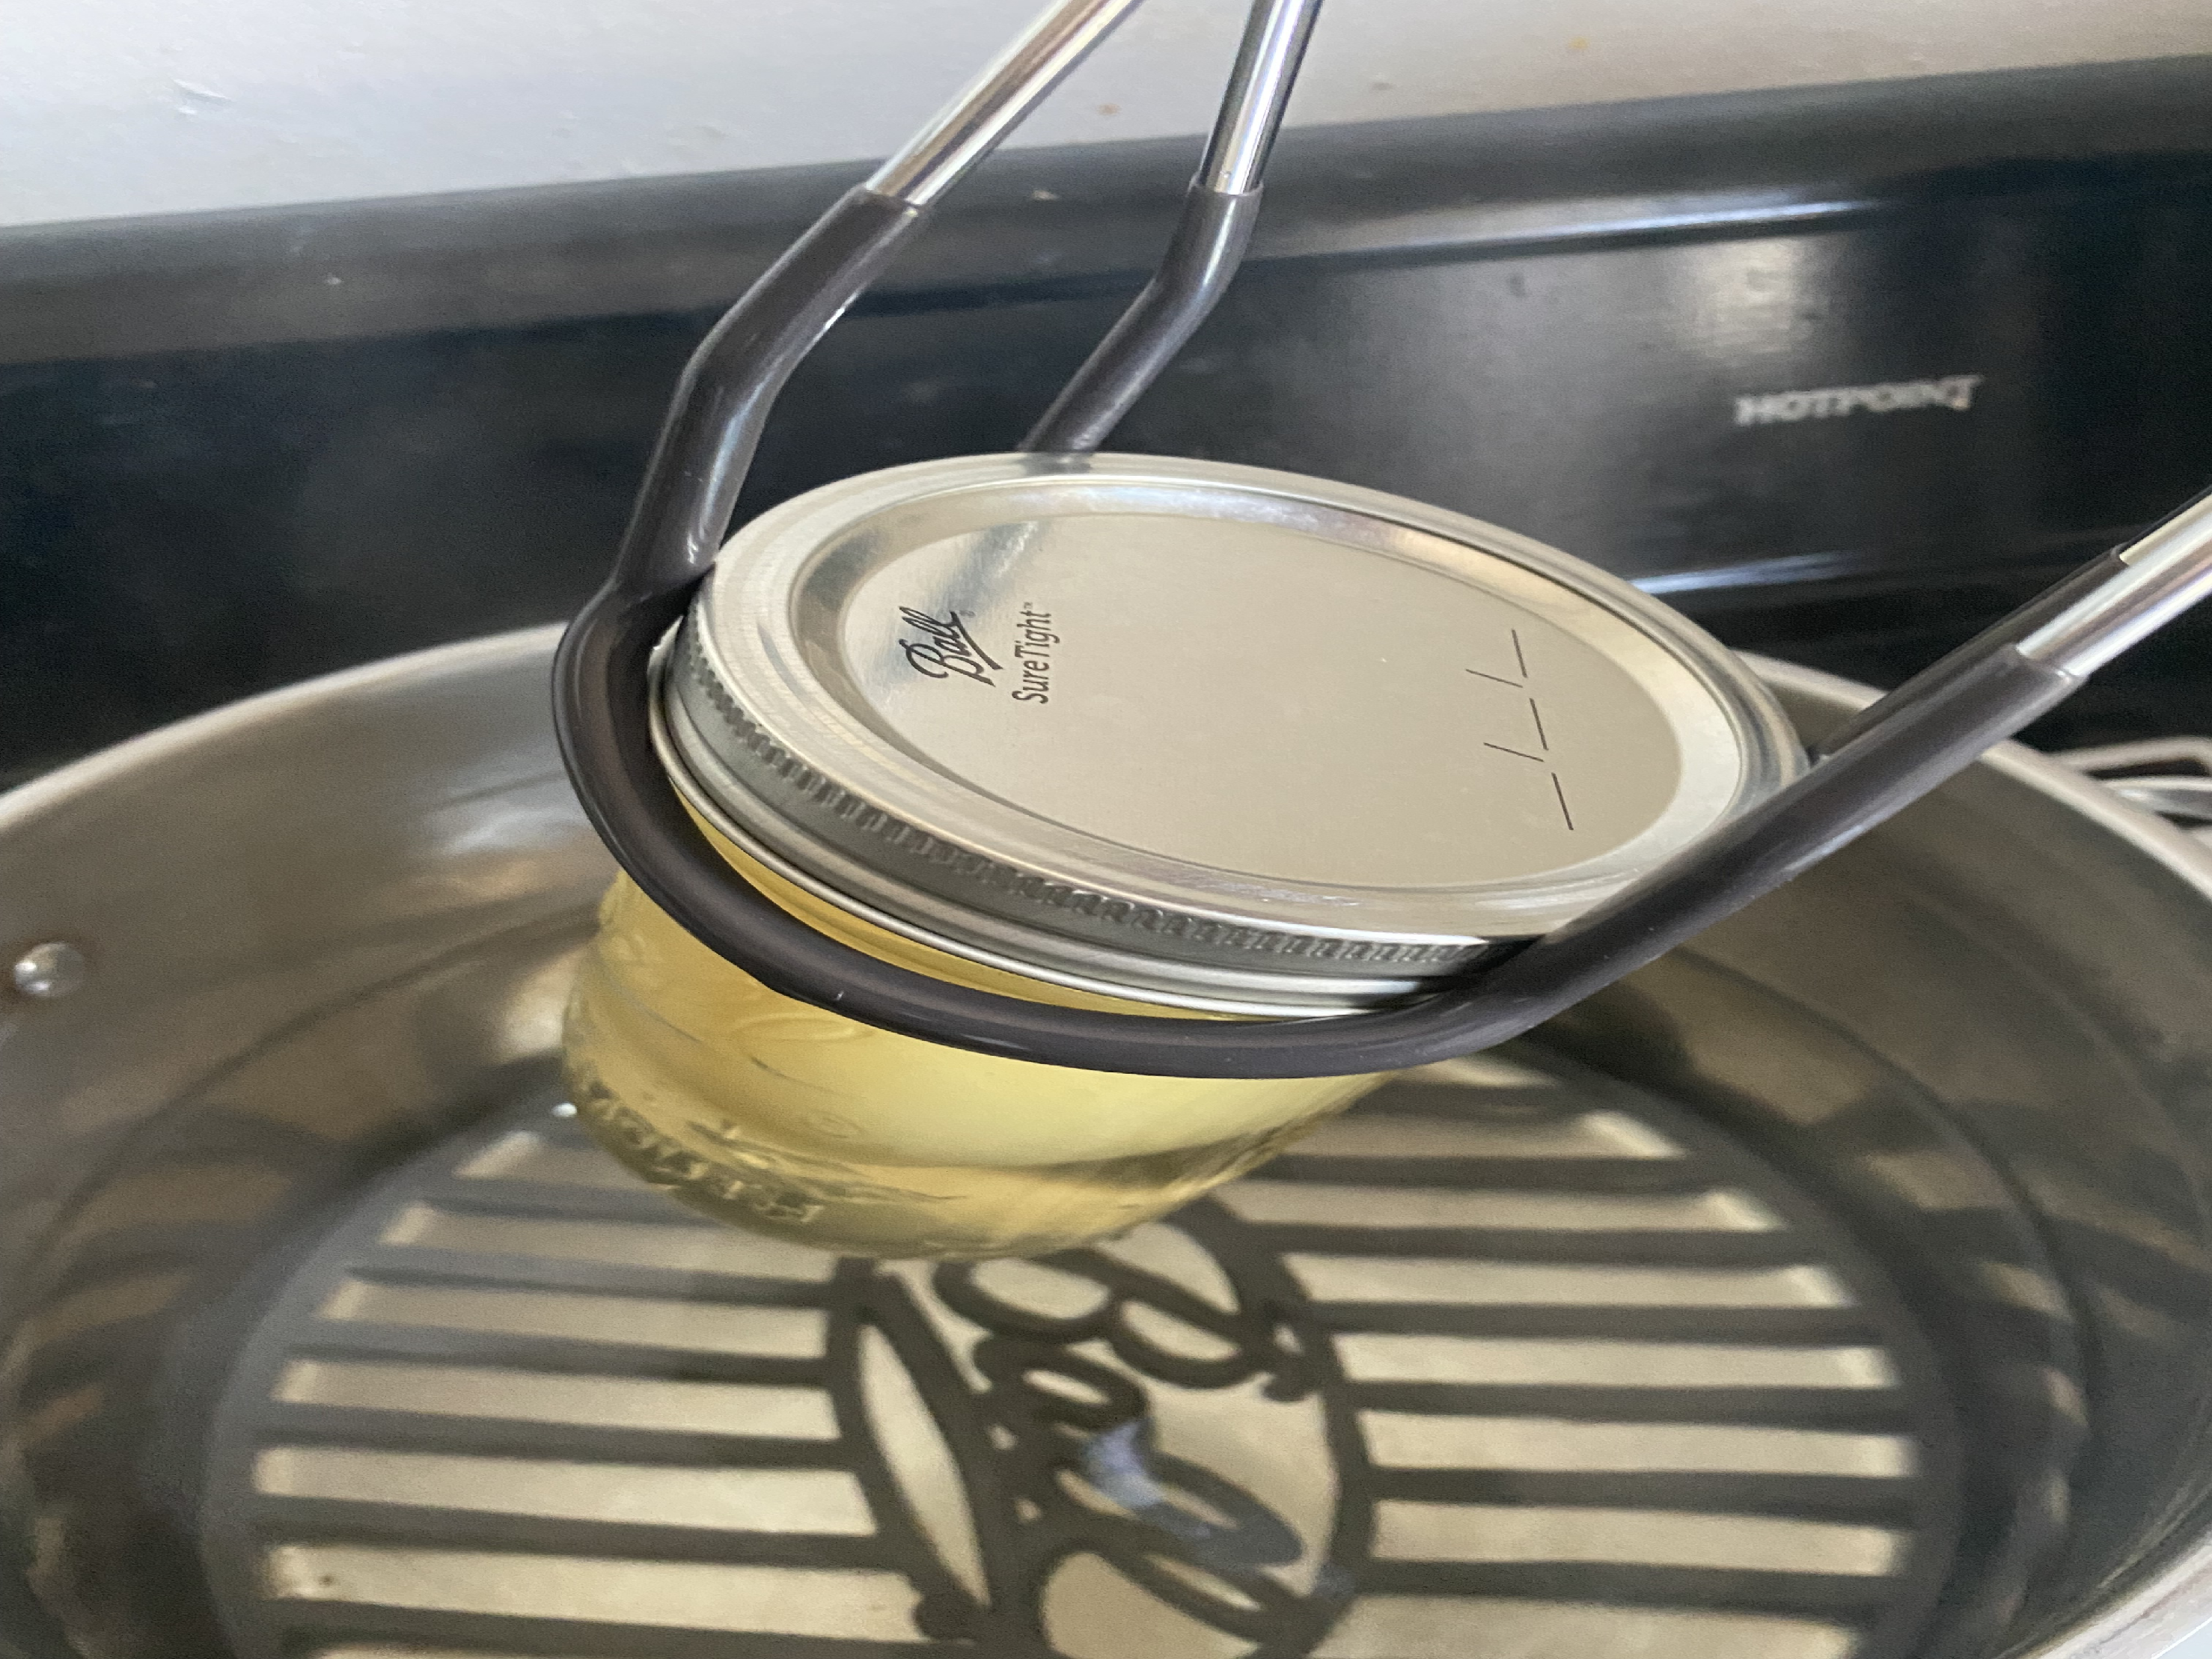
Time to remove the jars! Using the jar lifter, I removed each jar from the pot and placed them on towels which I placed on my countertop to ensure they won’t break on a hard, cold surface:

A picture containing indoor, kitchenware, strainer, pan

Description automatically generated

Next, it is time to wait for the jars to seal, which you will know by the popping sound from the lids, I was excited when I heard one pop within 5 minutes! I let them sit for 24 hours to allow them to seal and cool. After 24 hours all of the jars were properly sealed, and I tested them by removing the ring and gently tugging at the lids with my fingertips. All jars were sealed, cooled and ready to store in my cabinet. I was so proud of myself! Here is the picture of my finished product:

A picture containing cup, table, coffee, drink

Description automatically generated


Wednesday, August 25, 2021

Eggplant Parmigiana (a la Hubby)

By Kathi Carter Rodriguez

My hubby, Chip, made this dish for us about a week ago.  So I thought I’d borrow it.  I’m grateful to have another family member who loves to cook because it affords me time off as our primary chef.  What I like most about this dish is that it adheres to my cooking philosophy----“easy and tasty.” 

Ingredients:

  • Thinly sliced eggplant (about 1 or 2 whole eggplants)

  • 2 eggs

  • 2-3 tbs avocado oil

  • 1/3 cup of bread crumbs (Italian or add your own seasoning to plain bread crumbs)

  • A jar of your favorite tomato sauce (We like Rao’s; ☺ ) 

  • A bag of shredded mozzarella


Cooking Tools:

  • Large frying pan

  • Pyrex casserole/baking dish

  • Plate with paper towel


Instructions:

Preheat oven to 350 degrees.  Place 2 – 3 tablespoons of avocado oil in a pan and turn on low heat.  Whisk 2 eggs in a bowl.  Place 1/3 cup of bread crumbs in another bowl.  As pan heats up, dip both side of eggplant into egg mix then coat both with bread crumbs.  Place coated eggplant slices in pan.  Turn it up to a medium heat.  Cook until golden brown, then turn over and cook other side until golden brown.  Remove eggplant and place on plate with paper towel to soak up excess oil.  


Coat the bottom of the casserole dish with tomato sauce, and then cover with slices of cooked eggplant.  Sprinkle mozzarella on top.  This is your first layer.  Continue adding layers---tomato sauce, eggplant, mozzarella---until you have three or four layers.  Top it off with more tomato sauce.  Bake in the oven until you see the cheese melting or the tomato sauce boiling…about 15 to 20 minutes.  


Enjoy! ☺ 


Don’t forget to follow us on Instagram and Facebook!


Monday, August 16, 2021

Pressure Canner or Boiling Water Canner?

A picture containing food, indoor, fruit, fresh

Description automatically generated

homeandawaywithlisa.com

By : Patrice Hall

I am planning to preserve most of my share this year, and my freezer is full of the chicken from previous shares this year, so I have bought my pressure canner to start working on my food storage goals.  At the start of this summer season, my goal was to eat or preserve everything from my share.  I messed up a couple of weeks when I didn’t store the lettuce and greens carefully, so they became a wilted mess in the plastic bag from the farm.  Oh well, here comes late summer and fall when the vegetables become more hardy and we start receiving more apples (I planned to make my apple sauce this year).

The million-dollar question was which vegetables to preserve via pressure canner and which veggies need the hot water bath.  I consulted the book Complete Guide to Home Canning and Preserving by the US Department of Agriculture, and it is full of information.  Low acid foods must be processed in a pressure canner to be free of botulism risks.  High acid foods must be processed in a boiling water canner.  I never used a pressure canner before, so this will be an adventure (wish me luck 😊)

I just received my pressure canner and supplies from Amazon, so I will be starting this week on preserving my squash, beans and other foods.  Thank goodness for the CSA and the weekly deliveries, they have been a lifesaver this year!  

Applesauce Recipe (from the Ball Blue Book)

The cinnamon, nutmeg and allspice in this recipe are to taste. 

READY IN:

1hr 20mins

YIELD: 1 quart

INGREDIENTS

3 lbs apples

water

DIRECTIONS

Peel, core and quarter apples.

You will need 3 to 3-1/2 pounds per quart of applesauce.

Place in large saucepot.

Cook apples with just enough water so they don't stick.

Cook over medium heat until soft.

Puree in food processor or food mill until smooth.

Return to pan and bring to a boil.

You may add sugar if desired.

Taste to see how sweet the apples are.

You can also add cinnamon, nutmeg or allspice the last 5 minutes of cooking time.

Keep applesauce boiling and ladle hot sauce into hot jars leaving 1/2 inch headspace.

Remove air bubbles and adjust two piece caps.

Process pints and quarts for 20 minutes in a boiling water canner.

If you like chunky sauce, only puree half of the apples and crush the other half with apotato masher.

Prep time is an estimate as it depends on how many quarts of sauce you are preparing.


9 Solutions to a Veggie Conundrum

By Kathi Carter Rodriguez

In my post last week I wrote about preventing veggie waste.  Since we have thirteen or so more weeks for our summer share, I wanted to explore additional ways to avoid vegetable pile up.   To earn a spot on the list below, the only criteria that had to be met was that each idea had to be super easy to perform.  

Here are a handful of ideas: 

  1. Make Soup – This is a favorite one of mine because it’s quick and simple.  It requires cleaning, chopping and throwing all your ingredients into a large pot of water and simmering for a couple of hours.   

  2. Make Stock – This is a great way to use vegetable scrapes.  Until you’ve accumulated enough scrapes, store them in a Ziploc bag in the freezer.  Once you’ve gathered enough, place the scrapes in a large pot of water and cover. Simmer (with lid on) for a couple of hours.  FYI, it’s a good idea to exclude potatoes, beets, zucchini and green beans. 

  3. Try Stir-fry – If your vegetables are starting to go bad, cut off the not-so-good portions and use the edible parts in a stir fry.

  4. Juice! – This is one of my favorite ways to salvage waning veggies. And, imbibing nutrients in this manner ensures that you’re getting a regular dose of vitamins and minerals to keep your immune system strong. 

  5. Add to a Smoothie – Most mornings, I have a protein/fiber smoothie for breakfast.  I include a wide variety of energy boosting ingredients such as coconut milk, non-dairy yogurt, cashew butter, flaxseed, spirulina, blueberries and bananas. So, why not add leafy greens to the mix? 

  6. Revive Wilting Greens - If your leafy greens are losing their firmness, soak them for a few hours in a sink (or large bowl) full of cold water.  Once they’ve been “resuscitated,” wrap the greens loosely in a paper towel, then store in a plastic bag in the fridge. 

  7. Blanche & Freeze – This is a great way to preserve your summer veggies for the wintertime.  (See my blog post dated July 26, 2021)

  8. Freezing Leftover Herbs – Oftentimes, we use only a few sprigs of herbs to jazz up a dish.  So, to avoid wasting the rest, consider freezing your herbs for future soups, stews, pestos, and sauces.  Simply, throw the herbs into a food processor or Vitamix, and then place tablespoonsful into ice trays filled with a little water.  Let your freezer do the rest. 

  9. Try Quick Pickling – This was new to me, but it seemed to be an easy-peasy process.  It’s analogous to marinating veggies in a jar. Cucumbers, cauliflower, squash, carrots and green beans are all good candidates.  A simple brine calls for just vinegar, water and salt, but fresh herbs and spices such as garlic, peppercorn, dill, thyme, turmeric or coriander can be added for more flavoring.  For more details, check out Pioneerwoman.com.  I’m going to try this one in a few days. ☺